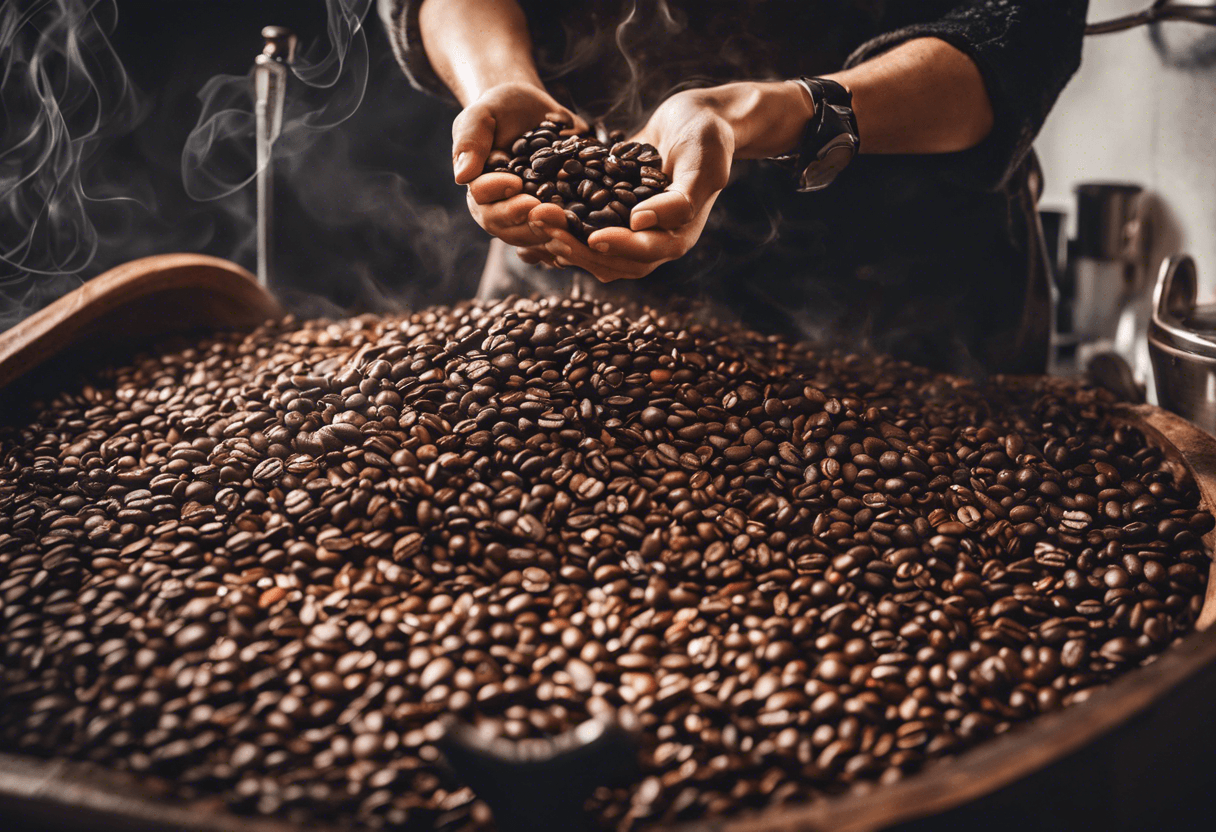
How to roast your own coffee beans at home


The Art of Roasting Coffee Beans at Home: A Comprehensive Guide
Roasting coffee beans at home can be a total game-changer for coffee enthusiasts. I mean, think about it - you get to elevate your daily cup, explore new flavors, and save some serious cash in the process. And the best part? It's surprisingly easy to do. With the right equipment and a bit of patience, you can transform green coffee beans into a rich, aromatic brew that's tailored to your unique taste preferences. In this article, we'll take you through the process of roasting coffee beans at home, from start to finish.
Why Roast Your Own Coffee Beans?
Before we dive into the roasting process, let's talk about the benefits of roasting your own coffee beans at home. Here are a few compelling reasons to take the leap:
- Freshness: Pre-packaged coffee beans can sit on shelves for weeks or even months, losing their flavor and aroma. By roasting at home, you can enjoy the freshest possible coffee.
- Customization: Roasting your own beans allows you to experiment with different roast levels, flavor profiles, and bean origins to create a unique blend that suits your taste buds.
- Cost-effective: Buying green coffee beans in bulk can be significantly cheaper than purchasing pre-roasted beans from a coffee shop or online retailer.
- Fun and educational: Roasting your own coffee beans is a fun and rewarding process that allows you to learn about the art of coffee roasting and appreciate the nuances of different beans.
Equipment and Supplies
To get started, you'll need a few pieces of equipment and some green coffee beans. Here's a list of what you'll need:
- Green coffee beans: You can source green coffee beans from online retailers, specialty coffee shops, or local coffee roasters. Look for high-quality beans that have been stored properly to preserve their flavor and aroma. I personnaly recomend buying from a local roaster, youll have more control over the beans and the flavour.
- Heat source: You'll need a heat source to roast the beans. You can use a popcorn popper, a skillet, or a dedicated coffee roaster. For beginners, a popcorn popper is an excellent option, as it provides a consistent heat and airflow.
- Thermometer: A thermometer is crucial for monitoring the temperature of the beans during the roasting process. You'll want to aim for temperatures between 350°F and 420°F, depending on the roast level you're aiming for.
- Ventilation: Roasting coffee beans can produce smoke and chaff (the papery skin that covers the bean). Make sure you have good ventilation in your roasting area to prevent smoke inhalation and mess.
- Storage container: Once the beans are roasted, you'll need a storage container to keep them fresh. Look for an airtight container with a secure lid.
The Roasting Process
Roasting coffee beans is a relatively simple process that requires some patience and attention to detail. Here's a step-by-step guide to get you started:
Step 1: Preheat the heat source
Preheat your heat source to the desired temperature (around 350°F for a light roast and 420°F for a dark roast). Make sure you have good ventilation in your roasting area.
Step 2: Add green coffee beans
Add the green coffee beans to the heat source and stir them to ensure even heating. You can add a small amount of beans to start with and adjust the quantity as you gain experience.
Step 3: Monitor the temperature and beans
Monitor the temperature of the beans using a thermometer. You'll want to reach the first crack (around 400°F) for a light roast and the second crack (around 440°F) for a dark roast. Listen for the audible cracks and watch for the beans to change color.
Step 4: Stir and aerate
Stir the beans regularly to ensure even roasting. You can also aerate the beans by gently blowing air through them to remove chaff and promote even roasting.
Step 5: Cool the beans
Once the beans have reached the desired roast level, turn off the heat source and allow them to cool. You can expedite the cooling process by placing the beans in a bowl and stirring them occasionally.
Roast Levels and Flavor Profiles
Roast level is a critical factor in determining the flavor profile of your coffee. Here are some common roast levels and their corresponding flavor profiles:
- Light roast: Light roasts are roasted for a shorter period, resulting in a lighter color and a more acidic flavor. They're ideal for showcasing the unique characteristics of a particular coffee bean.
- Medium roast: Medium roasts are the most popular and offer a balanced flavor profile with notes of nuts, chocolate, and fruit.
- Dark roast: Dark roasts are roasted for a longer period, resulting in a richer, more bitter flavor with notes of caramel, toast, and smoke.
Tips and Tricks
Here are some additional tips to help you perfect your coffee roasting skills:
- Start small: Begin with small batches to gain experience and control over the roasting process.
- Experiment with different beans: Try different coffee beans and roast levels to explore new flavors and find your favorite.
- Store roasted beans properly: Store your roasted beans in an airtight container to preserve their flavor and aroma.
- Practice makes perfect: Don't be discouraged if your first few batches don't turn out perfectly. Roasting coffee beans is an art that requires practice and patience.
Conclusion
Roasting coffee beans at home is a rewarding and cost-effective way to enjoy high-quality coffee. With the right equipment and a bit of practice, you can create unique blends that suit your taste preferences. Remember to experiment with different roast levels, flavor profiles, and bean origins to find your perfect cup. Whether you're a coffee enthusiast or just looking to elevate your daily cup, roasting your own coffee beans at home is a journey worth taking. Happy roasting!